
Installation
Fit it yourself or have it fitted
Most owners with basic 12 V skills install a HullSonic system in a day. Prefer an expert? Our agents fit and commission systems in their region.
Step by step
The installation, in outline
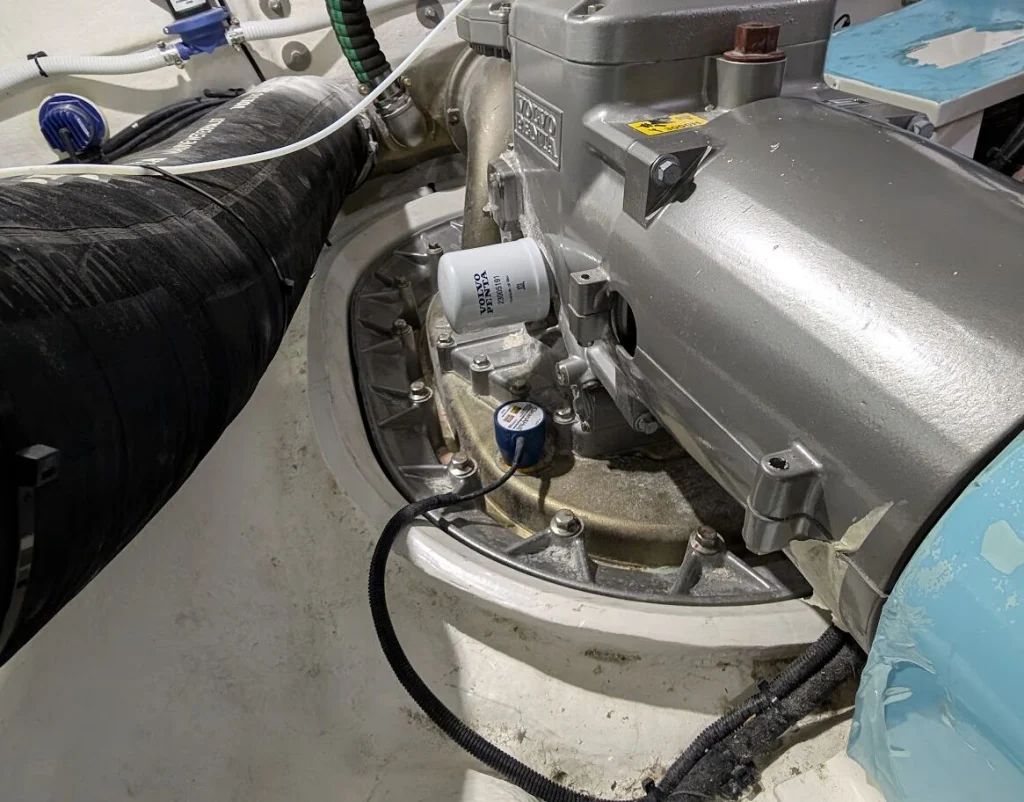
Start with the plan: use the layout planner, then check each position inside the hull. It should be flat, easy to reach and at least 30 cm from stringers, tanks and bulkheads. Then there are four jobs for each transducer.
Prepare the surface
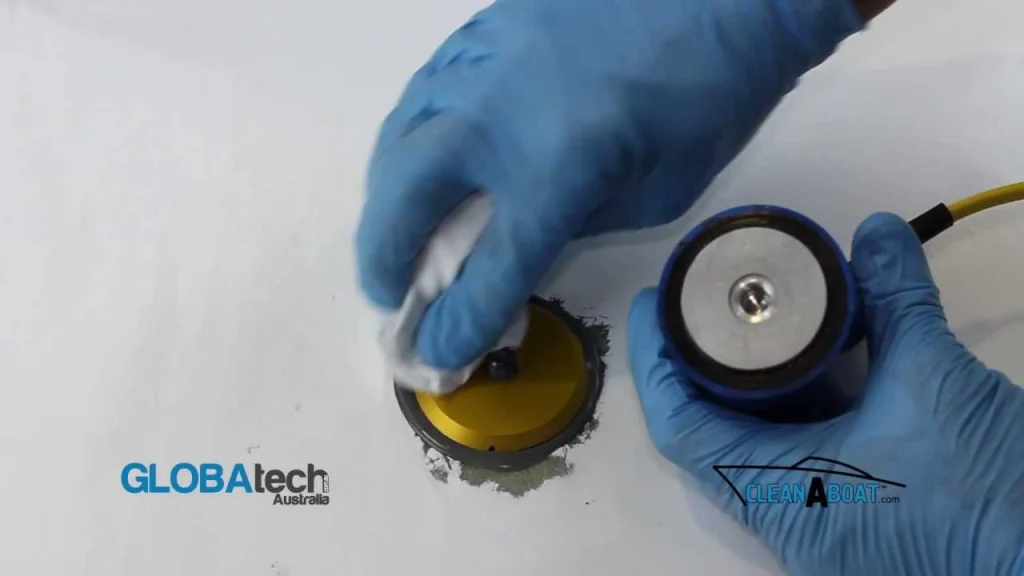
Mark the spot and sand it with 60 to 120 grit paper, depending on the surface, until it is flat and keyed: through the gelcoat on a GRP hull, through the paint on steel or aluminium. Wipe the hull and the base of the mounting ring with acetone. A cored hull has its core removed at the spot first.
Bond the mounting ring
Mix equal parts of the epoxy supplied to an even dark grey. Coat the base of the ring (the footprint), press it onto the hull and twist it left and right so no air is trapped. Wipe the top face and thread clean, tape the ring down and leave it 24 hours to cure, longer in the cold.
Mount the transducer
Clean both faces with acetone. Spread the Loctite 515 supplied over the face of the transducer and screw it onto the ring by hand, as tight as you can. It cures once the air is shut out, over 24 hours, so wait that long before you switch on.
Wire the control module
Mount the control module upright somewhere cool and dry, near the battery. Run each transducer cable to it and connect it colour to colour. Take 12 or 24 V straight from the battery through the in-line fuse, and fit the fuse last.
Then power up. Every channel calibrates itself: check the display and leave the system running.
The full manual comes with your system. For HS200 and MAX2 upgrades, enable channels 3 and 4 from the module’s system menu or in the HullSonic dashboard after fitting the kit.
Watch
Installation videos
Playing loads the video from YouTube. Watch on YouTube
More: transducer mounting · controller wiring. These videos show the CleanAHull generation of the hardware; the steps are the same.
DIY or professional?
Which is right for you
DIY suits owners comfortable with basic 12 V wiring and working in the bilge. A professional installer is worth it for cored hulls, larger vessels, complex running gear or if you want the layout checked on the boat. DIY vs professional installation goes through the trade-offs.